 |
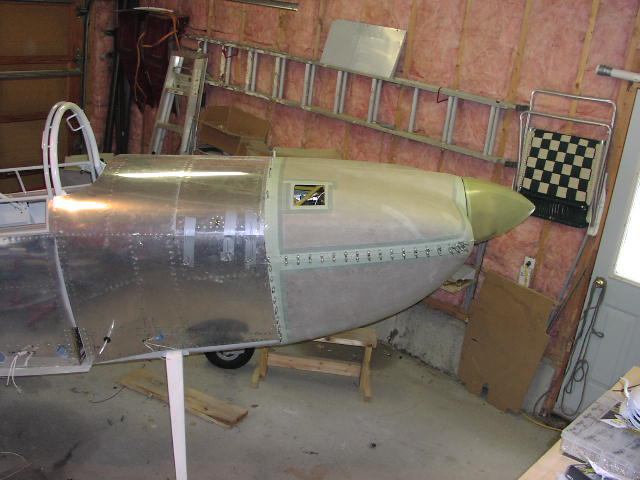
Here we are after a few months finally with the cowl all drilled on. I puzzled over this for weeks. The top cowl was relative simple to do a la Van's instructions, although I did use George Orndorff's method of blocking the front part up. Essentially you use a couple of shimmed tabs drlled and clecoed to the top front part of the cowl such that they rest on the spinner. I also put the spacer in there. |
 |
The hard part, and the part that gave me the most heartburn, was fitting the bottom. The instructions say to work on the front on the bench and get the spinner hole all round and the right size. Well, the problem is the outside, front cheeks of the cowl are too high, thus you can't get the cowl to fit together to get the spinner part right. But you really should have the whole thing on the airplane so you can determine where to cut the cheek parts on the bottom cowl to get the front to fit.. Catch 22. |
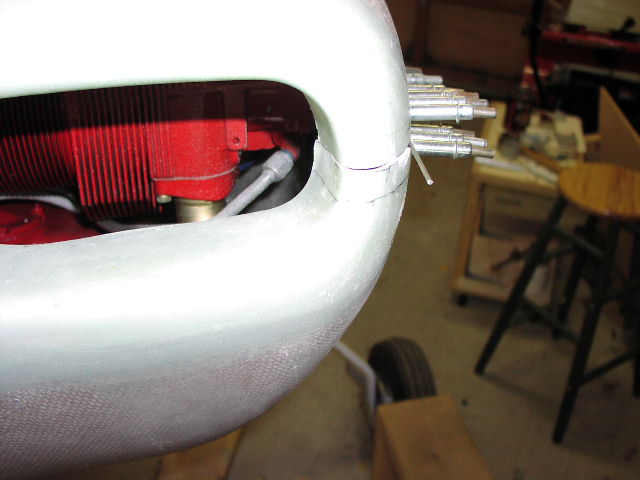 |
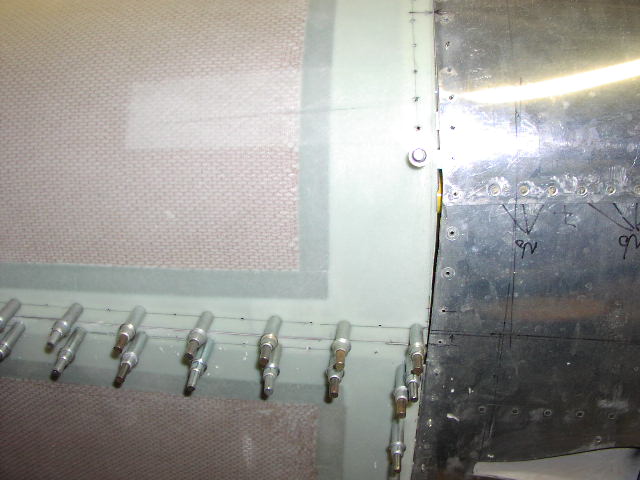
What I did, and forgot to take a picture of, was to carefully cut down the outside, front cheeks of the lower cowl around the front, and heading aft about 3-4 inches. This would allow the inside part near the spinner to come together, and the outside parts to overlap (see the next picture). |
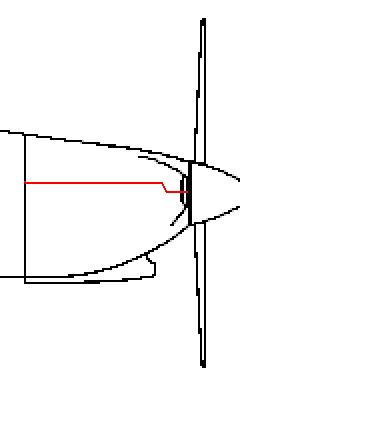 |
Once this cut is made, I was able to duct tape the lower cowl on the airplane, and start working on the cuts at the bottom of the cowl first (which allows you to raise the cowl into the proper horizontal position). Once that was done, I had marked the fuselage where the bottom of the top cowl was at the aft end, and I could see the bottom of the top cowl was at the front. I just connected the dots, drew a line on the bottom cowl, and took it off to cut.
|
 |
Apparently I had some kind of brain cramp on this side, and left an 1/8" gap on the top cowl when I marked and cut it. Damn ! Not a big deal, however, as I can just use some epoxy with cotton flox to add the edge back in. After some paint (and hand waving to distract the on-looker) no one will realize it is there. |
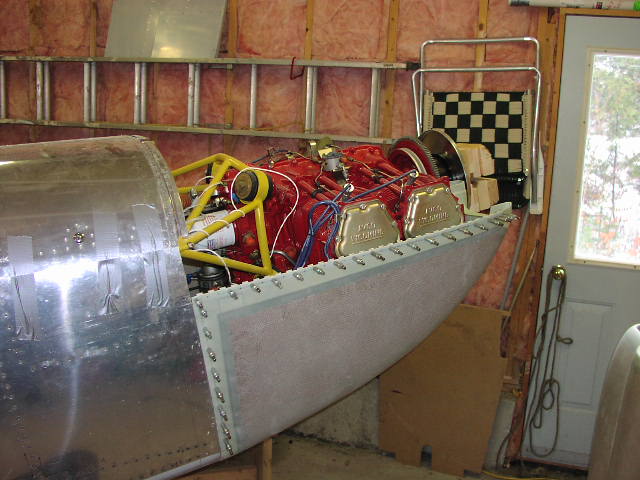 |
And here is the engine with just the bottom cowl !! Starting to look like an airplane. Next job......baffles. You can see those on the engine page. |
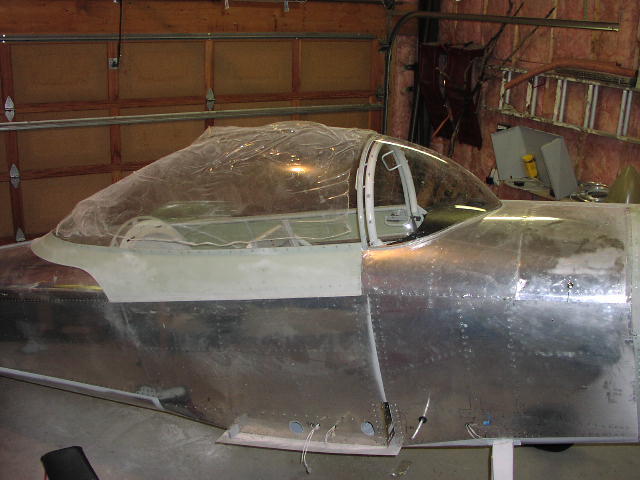 |
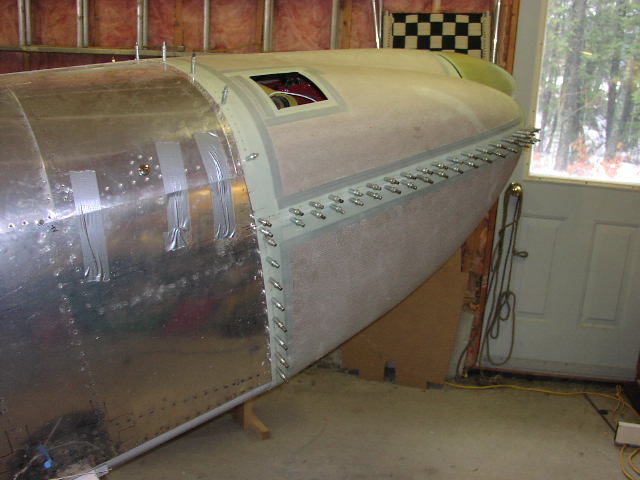
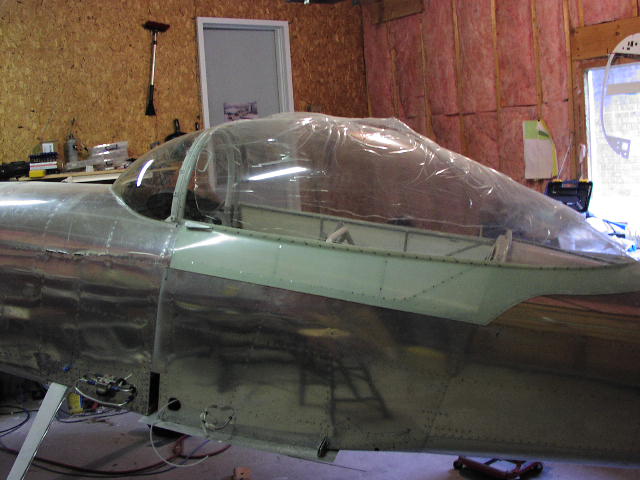
Here is the finished canopy (minus the fibreglass around the windscreen). It has taken about 30 hours to get it this far, including the initial cutting, trimming, and fitting. Be VERY, VERY careful when drilling your holes through the canopy into the canopy frame. Make absolutely sure that the drill is going in 90 deg. to the plexi, and that you are drilling into the exact point that the canopy frame touches the canopy. If you don't, then the rivet will be applying a little sideways pressure to the canopy and it will crack. Don't ask how I know this. Um, twice. |
 |
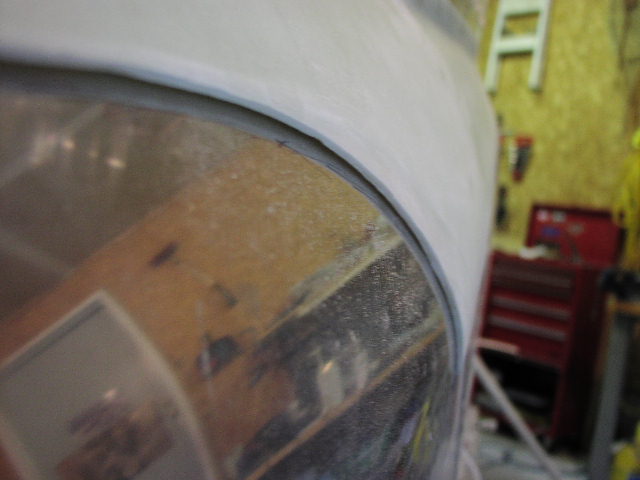
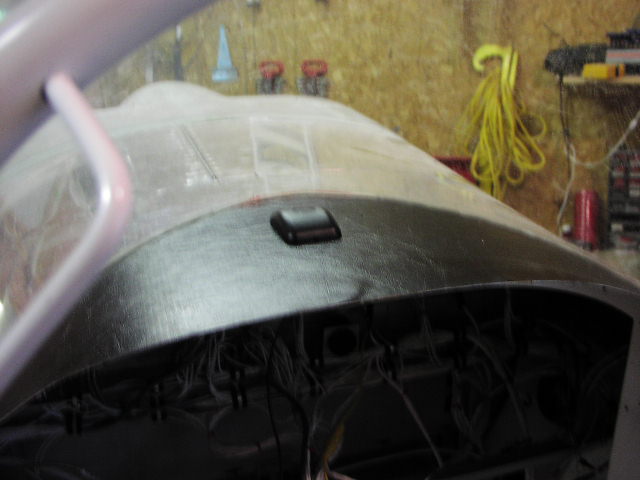
Here is the aft end of the canopy skirt. I had to do some major surgery to get the skirt to fit everywhere, and it never did turn out perfect. Here I taped off the rear slide, put an .032 shim on top of the slide, and slapped some epoxy with the high density filler over the whole works. Once it dried, I just sanded it to shape. |
 |
Another thing to ensure BEFORE drilling your canopy on is that the canopy frame lines up with the side of the fuselage such that the skirts will be pulled up tight. I wasn't careful enough and didn't check the part of the canopy frame by the passenger shoulders. The right side was far enough out that the skirt was 1/4 from the fuselage. I cut off the bottom of the skirt and glassed in a new bit, but I couldn't do that with the aft part of the skirt. What I did here was to cover the fuselage skin with tape, mix up some epoxy with the high density filler, applied it liberally to the skin, then closed the canopy. Instant shim. |
 |
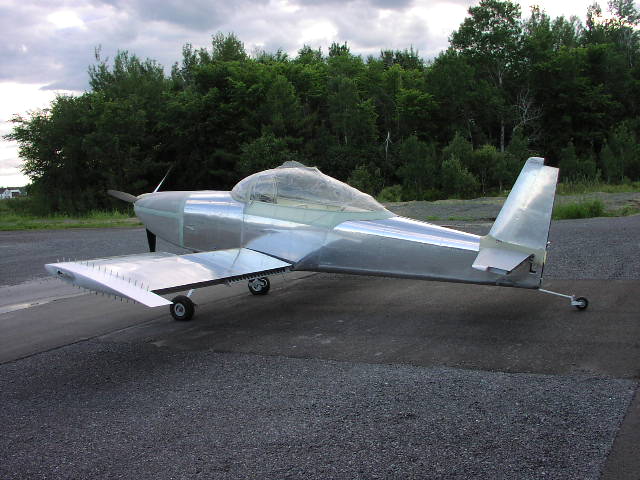
Left side view. Cool, ain't it ? ;-) |
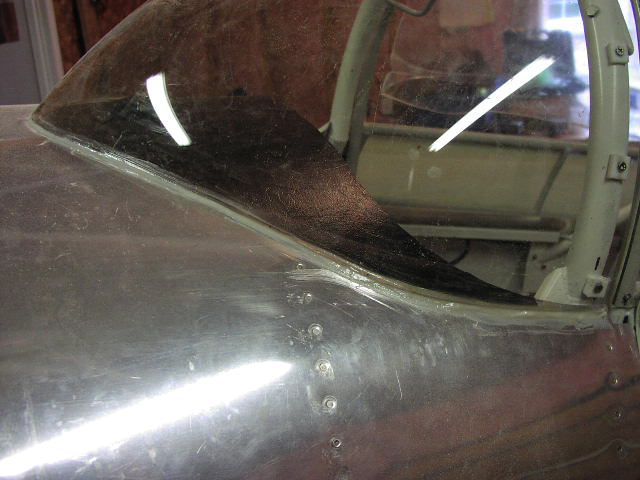 |
Hard to believe, but I actually did something right. I got a really good fit with the windscreen using a belt sander, then just filled in the gap with the epoxy/filler mix again. (BTW, I have been using West Systems with the 404 High Density Adhesive Filler for this work. Much better than microballons or their 403 filler.)
You will note the honkin' spacers between my windscreen and the canopy bow. Something is not right with my canopy bow and canopy frame. They are NOT the same size/shape. Everything else fits just right: the fuse is the right width, and the canopy bow fits the fuse. The canopy frame rails is on the inside edge of the canopy sill, yet the frame is wider than the bow, and needs these friggin' spacers. |
 |
A crappy, out of focus pic of my glareshield with the antenna for my Garmin 196 and the genuine plastic, leather, naugahide cover. |
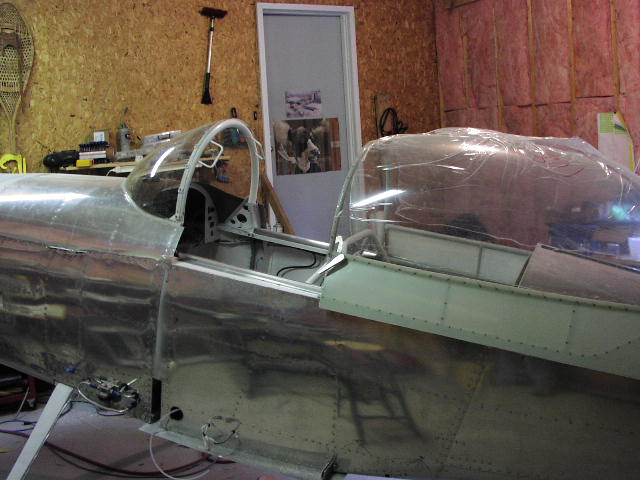 |
And just one last cool shot of the canopy open for the fighter pilot wannabe to crawl in ;-) |
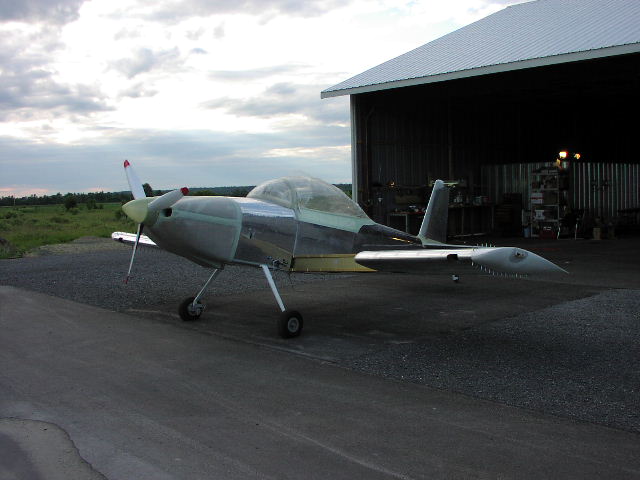 |
Wings on, but the rear spar hasn't been drilled on yet. |
 |
|
 |
|
 |
Sure has nice lines, doesn't it ? And I like the look of that 3 blade Catto prop. |