

Here is the story of painting the -8. I didn't take pictures of everything, especially the fibreglass prep.
Now, does it look like a pro did it? Not if you are 1 ft away and are using the suns glare looking for underspray. But otherwise it turned out great. Besides, this is the first thing I have ever painted (other than my living room ;-) There is a lot of satisfaction in saying I did EVERYTHING for this airplane.
It was a lot of work (probably 150-200hrs, including the paint booth and what seemed like a billion iterations of fill/sand/fill/sand of the fiberglass).
I used Imron for my paint. Here is the list of what I wound up using:
I used decals from Av/Graphix for my markings. Denny gives GREAT service and the decals are absolutely first rate.
Here are a couple of lessons learned:
|
|
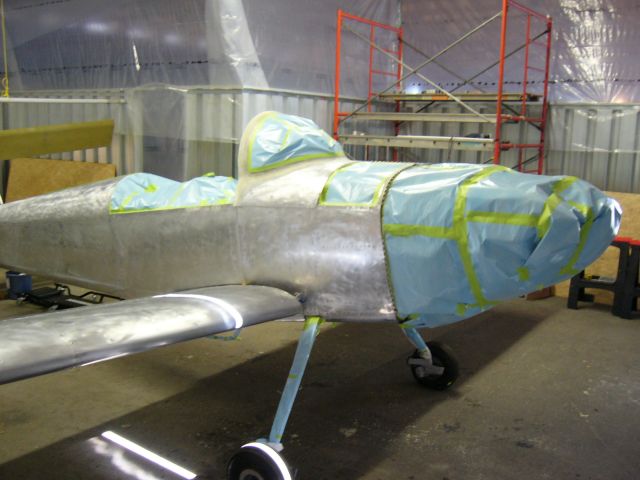
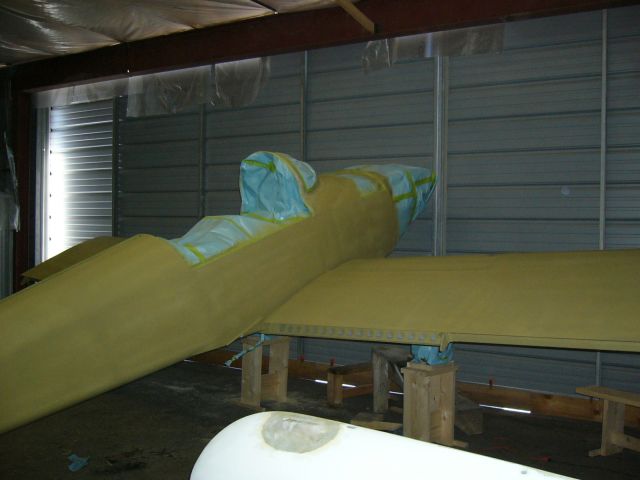
Here it is after the initial masking and sanding. I sanded the entire airframe with wet 320 grit sandpaper, then wiped it all down by with lacquer thinner to clean off the aluminum grime. |
|
The cockpit area was a pain in the butt to mask. |
|
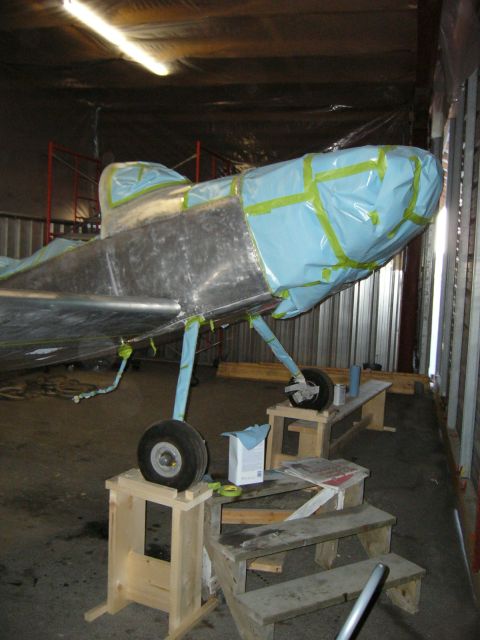
Here you can see the stands I made so that painting under the wings would be easier. My buddy and I had already made 10' ramps to load the airplanes onto the truck to get them to the airport, so we just reused them to get the -8 up on the stands. Then I just screwed a couple of short pieces of wood to the stand to act as chocks. The stands were just made out of a 2x10, with some 2x2 as lateral stability at the bottom. |
|
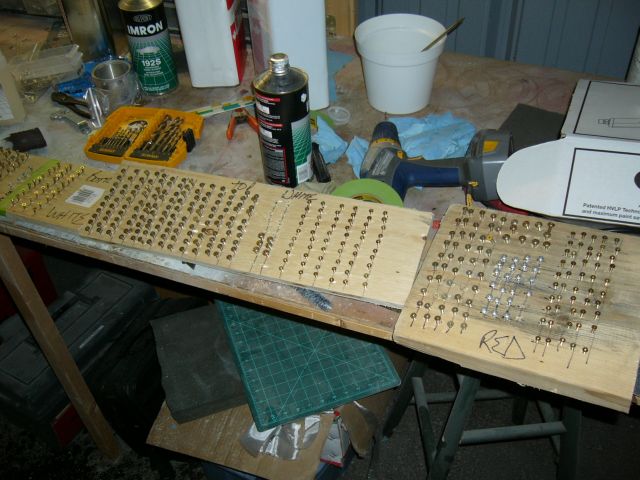
There is like 10 billion friggin' screws in this airplane!!!!! I bought all new screws and painted them the appropriate colours. |
|
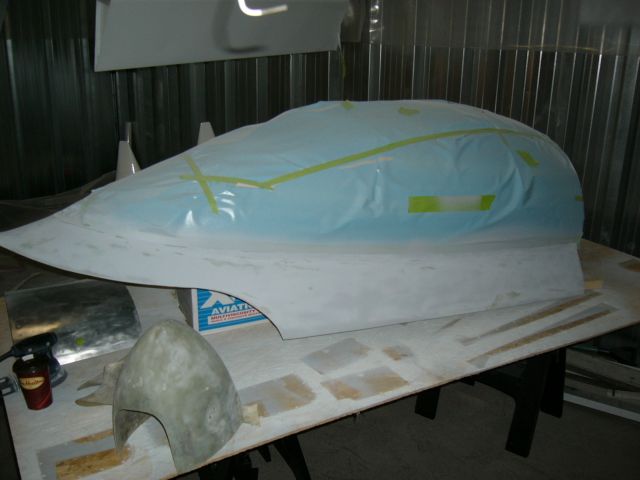
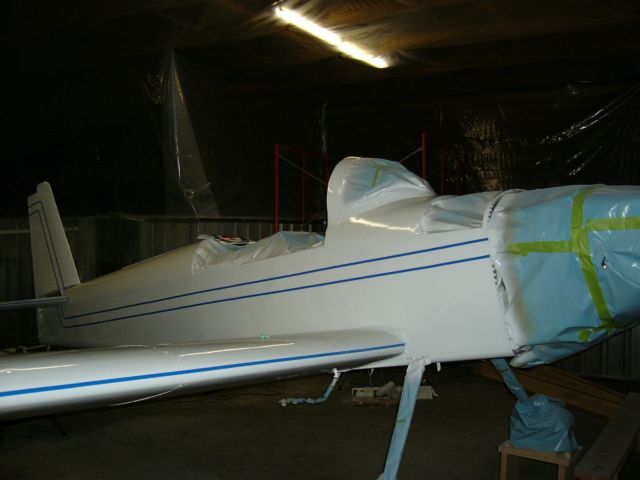
Here is the canopy after its first primer coat. The plexi is masked both inside and outside. |
|
Here is the -8 after the Variprime coat. |
|
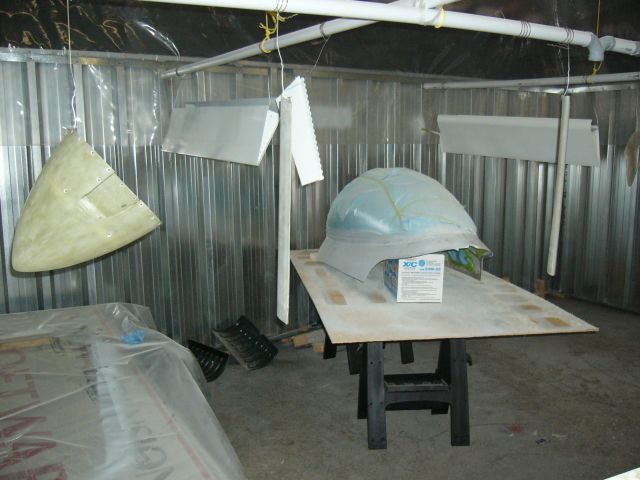
Here you can see stuff just after the primer coat. The PVC piping made a great structure for hanging control surfaces and parts for painting. |
|
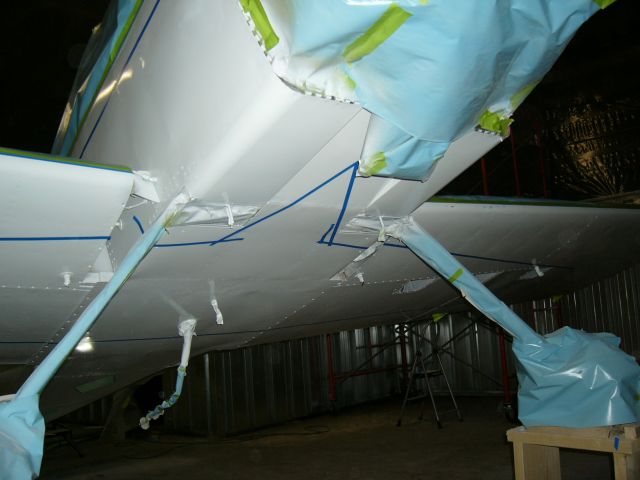
I painted everything white first. I heard that a white base coat would make the colour coats look brighter, and believe me, it works ! Here you can see the double line of 3M Fineline trim tape. |
|
Here you see it from the aft end. The top will be white, the space between the tapes will be blue, and the bottom red. |
|
And the masking of the various trim bits. |
|
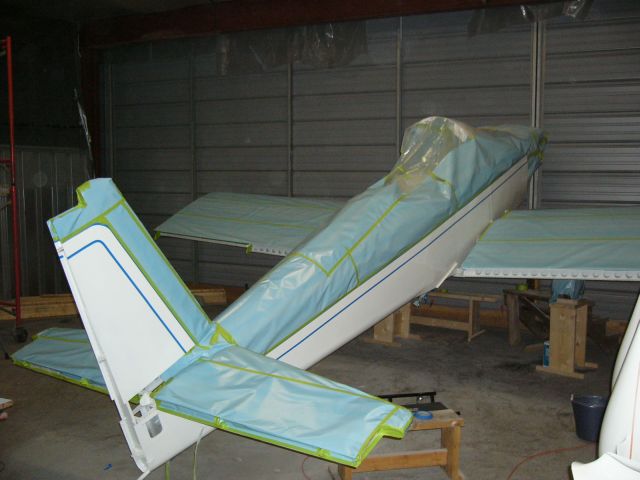
Here is the initial masking of the airframe. The way I chose to do it is to mask off what will stay white (which is what you see here). I then put more masking paper in a narrow line to cover where the blue strip goes. This way, when the red paint is dry, I remove the little bit of paper masking the blue, and the white Stays covered. All I had to do then was mask the red below and I could shoot the blue. |
|
For those of you familiar with the Canadian Forces Snowbirds aerobatic team, this is the masking for the "Speedbird" that goes on the bottom of the Tutor. The area inside the tape lines stays white. Man, what a pain to mask off lying on your back on cold pavement ! |
|
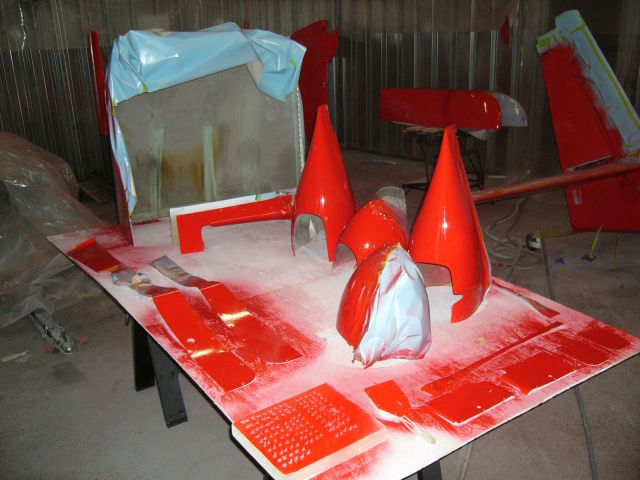
Looks like a horrible chain saw murder happened here, but it is just some of the trim bits after the red paint was applied. |
|
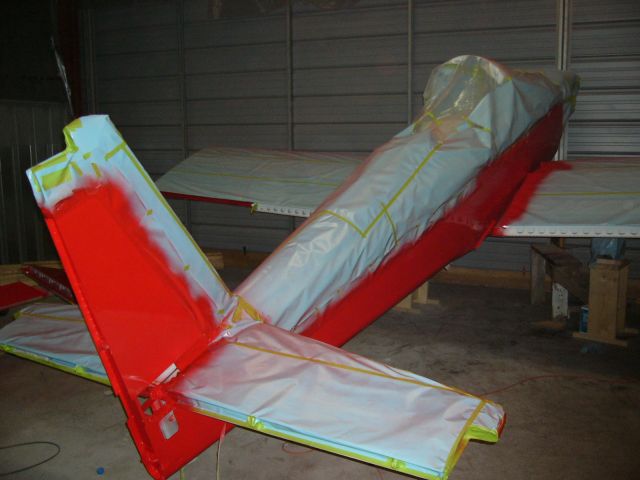
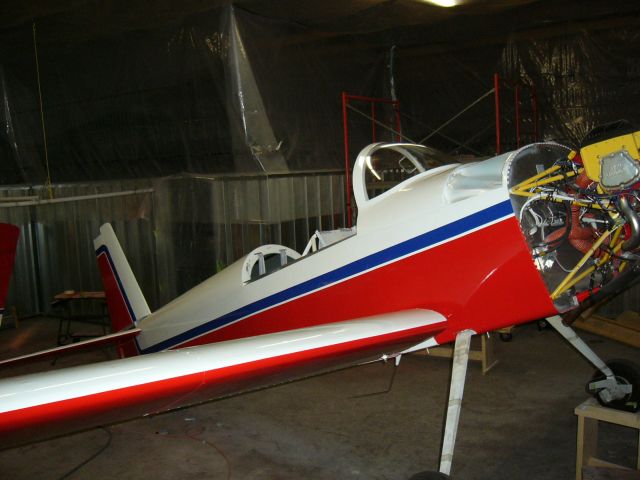
Here is the airframe after the red paint has been shot. |
|
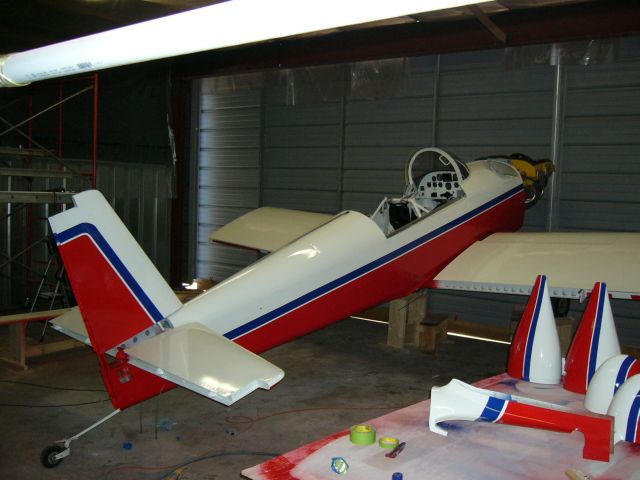
And after the blue had been applied and the masking paper and tape removed. What an awesome moment that was. |
|
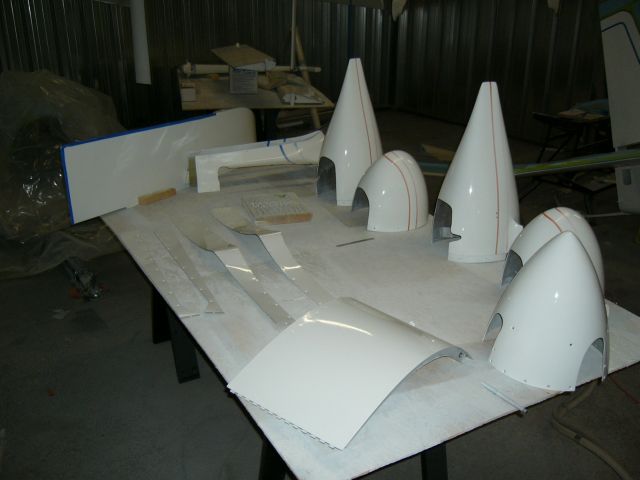
Another view that also shows the wheel pants and stuff. |
|
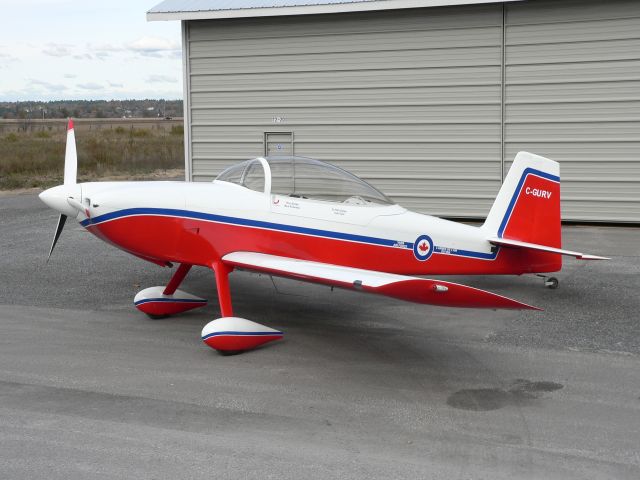
And the finished product. While the paint job is not perfect, it is close enough. There is some buffing to do. I will probably sand down and repaint the wing tips, and there are a couple of sags here and there, but they are hard to find, especially at 160kts and 8000' ;-) |