
|
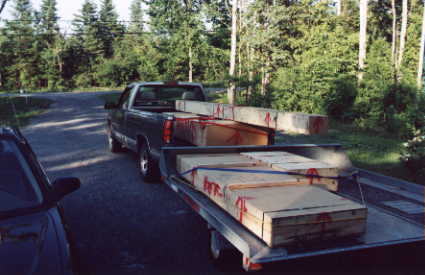
Actually, this isn't the tail. These are the wings and fuselage after I picked them up in Watertown N.Y., about two hours away. Why drive two hours to pick them up when they could be delivered to your door, you ask ? So I don't have to pay brokerage fees when the kit comes through customs. |
|
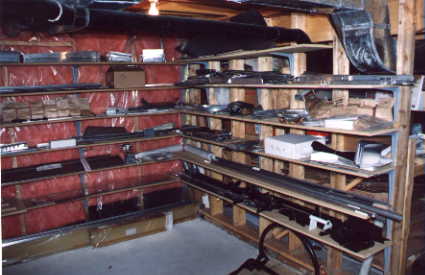
This is the whole kit (except the finishing kit), once it has been unpacked, inventoried, and stored. Sure makes it easy to find parts when it is stored like this. (You can see the wing spars on the bottom left (the gold things), and the canopy roll bar on the bottom right) |
|
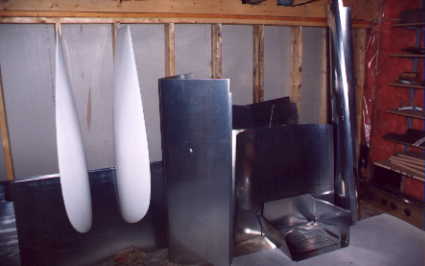
These are the fuselage and wing skins, as well as the fibreglass wingtips and various fuselage components. |
|
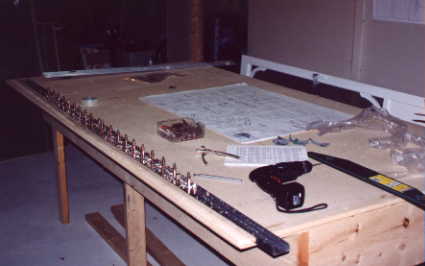
Here the horizontal stabilzer is being prepared. Make sure your table is flat and true. |
|
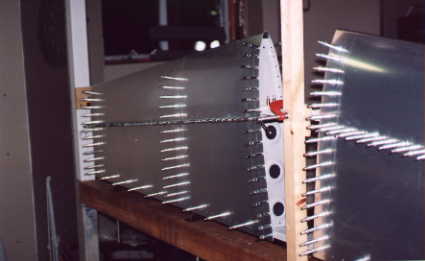
And here we have drilled the skins to the stabilzer. In Canada, we have to have our subassemblies inspected before they are permanently closed up. The inspector has to be able to see each rivet, nut, bolt, cotter pin, etc. Of course, these inspections cost money, so the trick is to minimize the number of times the inspector comes to your house. On the RV-8, we can get away with 2 inspections; the first will inspect the tail and wings, and the second will be the final before flight (the inspector can see everything in an RV fuselage at final inspection time). So, we rivet skins on to subassemblies to the point that corners can be pried back to look in, but we can't close up a structure until it is signed off. |
|
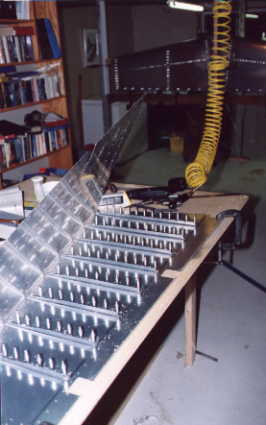
Here I am are putting the stiffeners on the rudder. I understand that these now come prepunched. Damn! |
|
Here is the vertical stab all drilled and clecoed together. |
|
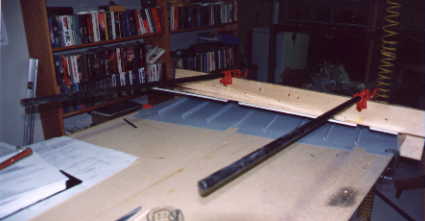
Ahhh, yes, the infamous bending of the elevator and rudder trailing edges. I used 4' long pipe clamps and a 2x10 for a bending brake that I ripped in half on my table saw. The problem is, I actually built the brake for an RV-6 I started years ago and never finished (just got the tail done). Well, it appears the wood dried out in the meantime. About 30 seconds after I took this picture the wood split on the brake. |
|
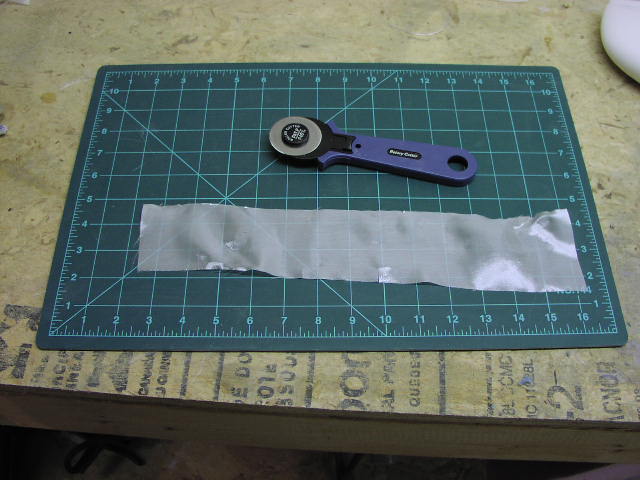
The picture above was taken back in 1999. This one is fresh (2004) ;-) If you don't have one of these gizmos, get one. I picked it up at a local fabric store. The rotary cutter and self healing cutting mat make PERFECT cuts of fibreglass cloth. |
|
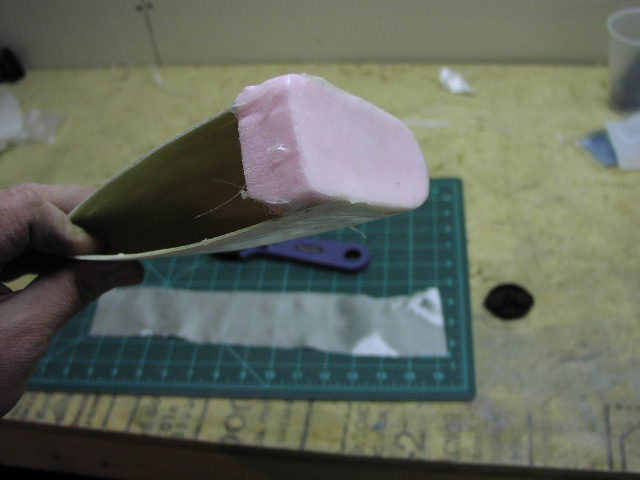
Here is one of the horizontal stab tips. I used pink styrofoam insulation to make the plug part. I roughed out the shape on the bandsaw, glued it to the tip with 5 minute epoxy, then used coarse sandpaper to make that concave shape. Some 1.5 oz cloth, some epoxy resin, and voila. Now, there is a bunch work to do yet (sanding, filling, sanding, filling, etc), the job itself is pretty easy. |
|
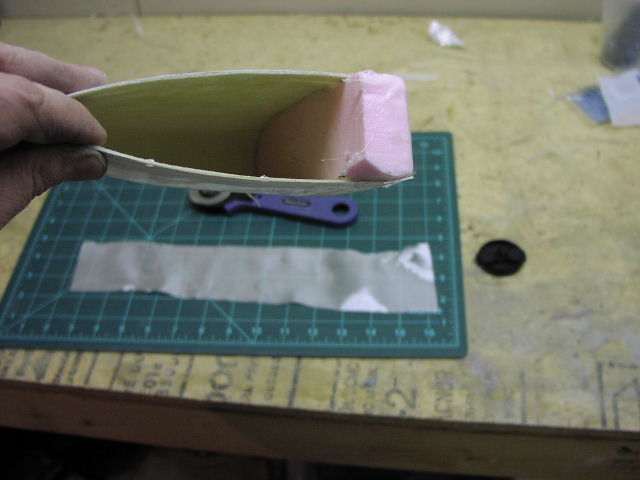
Another view. I took some pics of my elevators and rudder with the tips on, and but deleted them by mistake. I'm too lazy to go back downstairs and take more right now, so I do it next time. |
That's it for the tail. Click here
to go to the wing, or here to go back to
the RV-8 project page.