 |
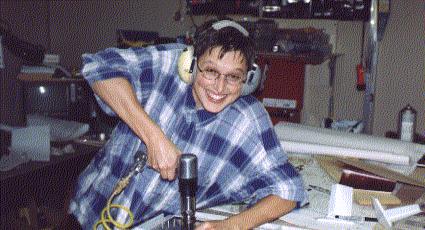
Here's a picture of my honey Linda working on the firewall. She
did a pretty good job. She has since helped me rivet the skins on
the wing. |
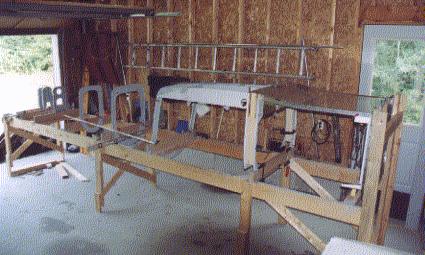 |
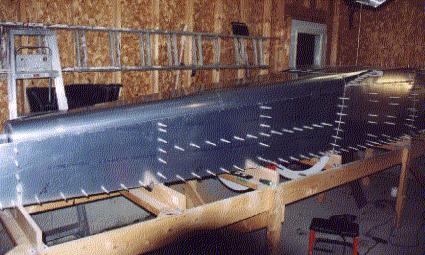
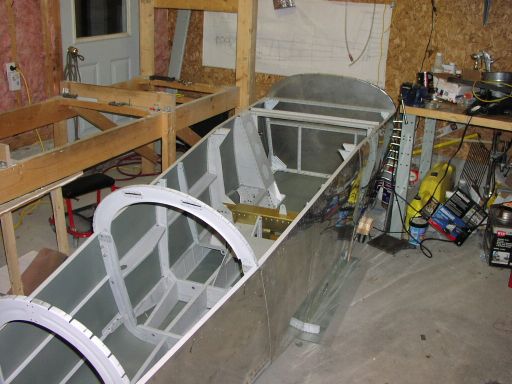
This is the beginnings of the fuselage in the jig. Take the time to
line up the bulkheads good as you can.
The main 804 bulkhead (the part the spar plugs into) is jigged up and
positioned using the forward floor skin. The main cabin belly skins are
now clecoed on. Doing this gives you a seam to look down towards
the tail. This is absolutely invaluable in tweaking the lateral positions
of the bulkheads. |
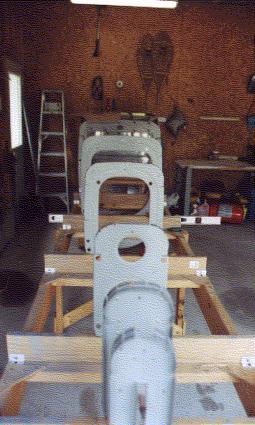 |
This is the view from the aft end during the alignment process. |
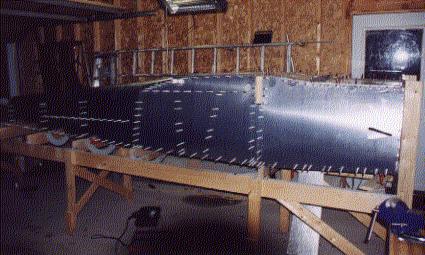 |
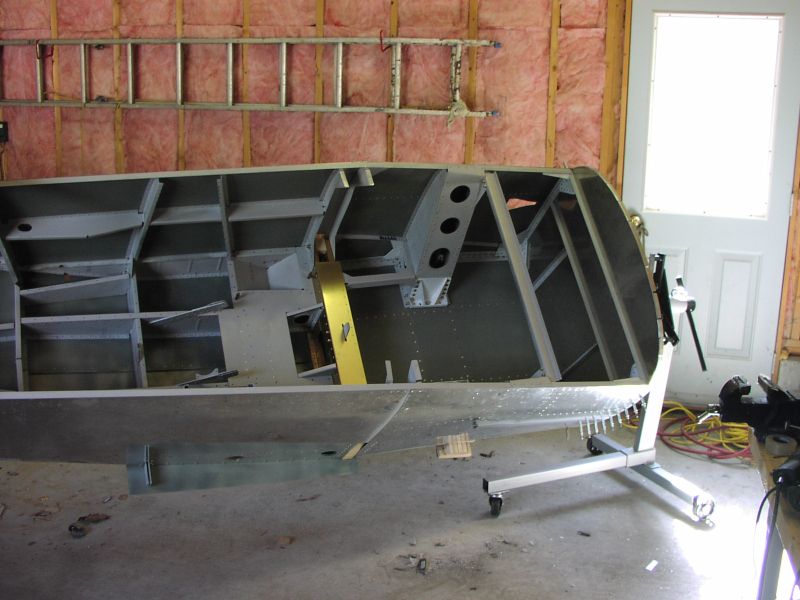
There has been a lot of work between the last photo and this one.
The biggest problem I had at this stage was getting the forward side skins
aligned. Make sure you get those little tabs to line up as close
as possible to the vertex on the lower longerons (bottom of the airplane).
I found that my lower longerons were not bent correctly at the factory.
However, I puzzled for days over the fit before I realized it (not the
sharpest knife in the drawer, sometimes). |
 |
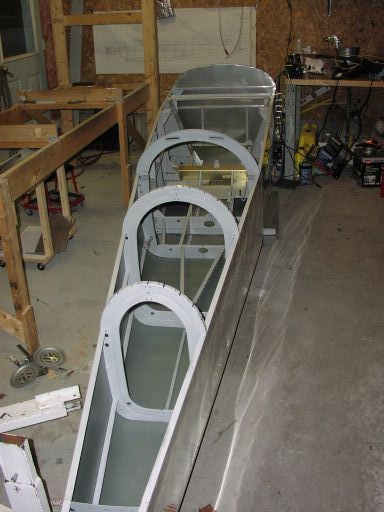
Just another view at the same stage. Kinda looks like a metal
porcupine at this stage. |
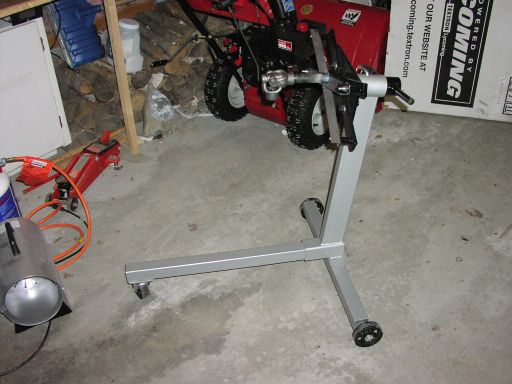 |
Here is a fuselage rotisserie I have built using an engine stand from Princess Auto |
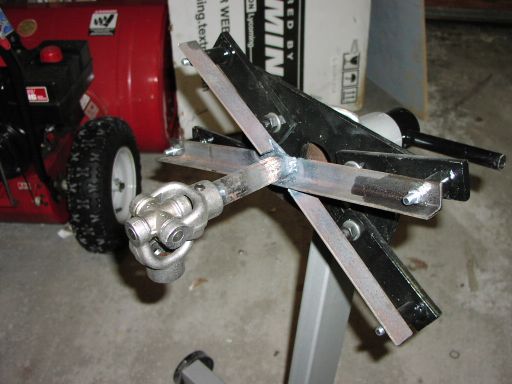 |
Another picture of the rotisserie showing the universal joint. |
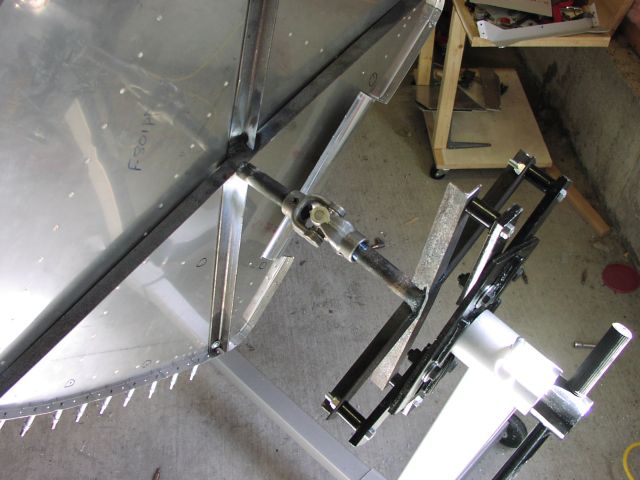 |
Here it is attached to the firewall. Just ignore the REALLY ugly welds. I'm trying to teach myself how to weld, and well, it ain't pretty ;-) |
 |
Here's the other end. A simple mechanism to all the fuse to rotate, and it also lets me change the angle of the fuse to work on different things at different heights. |
 |
A CANOE WAS BORN ON APRIL 9th. WOO HOO ! |
 |
Another view of the canoe. |
 |
Here is the fuse in the rotisserie. Man, is it ever easy to work on stuff using this thing! |
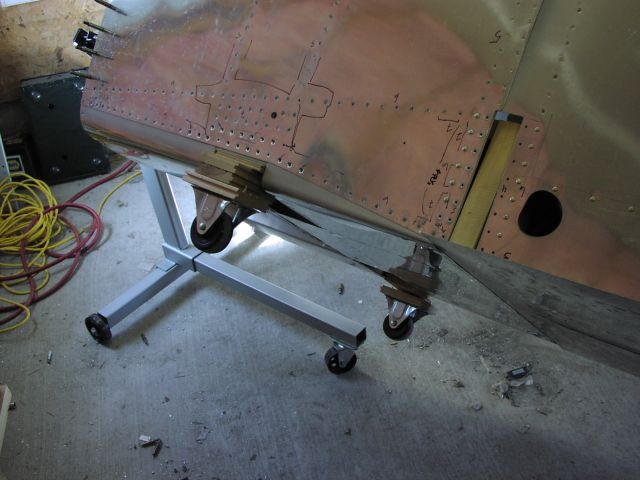 |
My buddy John Perrin used these "training wheels" on his -8 to move the fuse around the shop. There are really handy, and easy to make. They are held on with a 3/8" bolt through the landing gear weldment. |
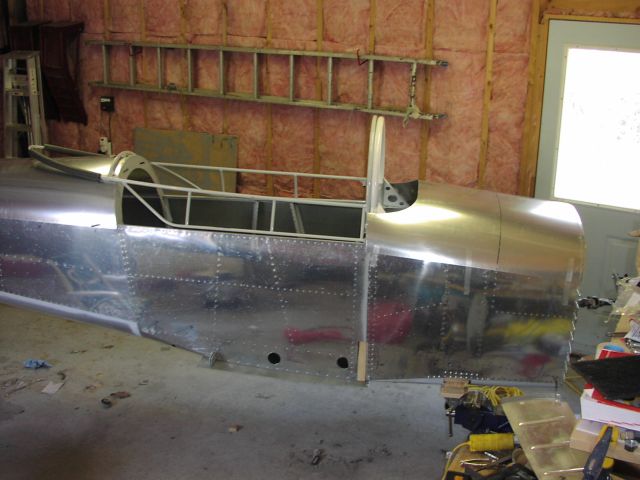 |
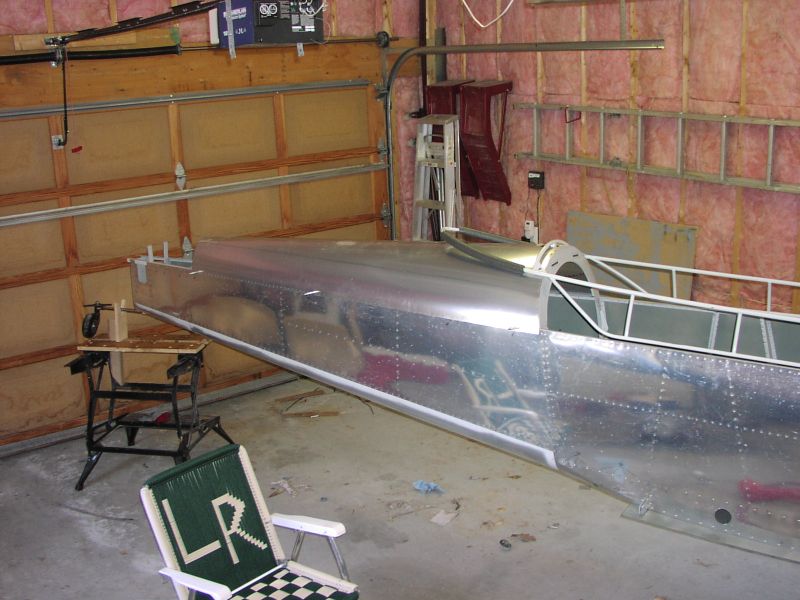
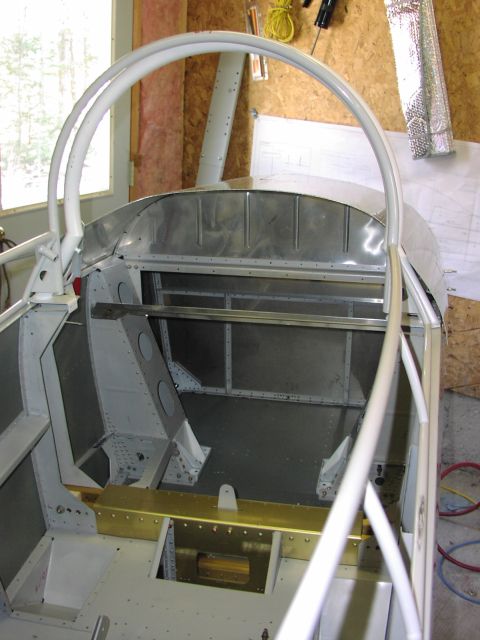
With the tops skins clecoed in place for the first time. It really looks like an airplane !! |
 |
|
 |
|
 |
Just a shot of the forward fuselage, where you can see the landing gear tower. As an aside, when I ordered my wing and fuselage kits, Ken Scott at Van's tried to talk me out of building an -8 and into an -8A instead. He said the landing gear towers were miserable to build, and the -8A flew exactly the same anyway, and was easier to handle on the ground. Well, he was right about one thing, those gear towers are a PAIN IN THE A$$. However, I just wouldn't be happy looking at an airplane with a great, honkin' tire stuck at the wrong end ;-) While the gear towers were difficult, they weren't quite as bad as I had expected. And if you go look at Kevin Hortons' web site, he has a tremendous "how-to" on building them. It really helped me and saved me many hours of grief. |
|
|