 |
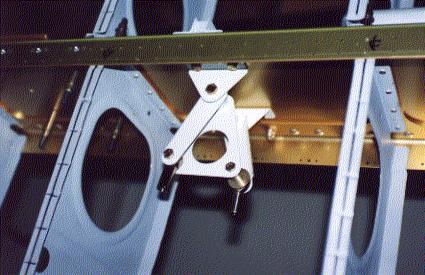
Here is the aileron bellcrank assembly. It all comes powder coated
now, which is nice. |
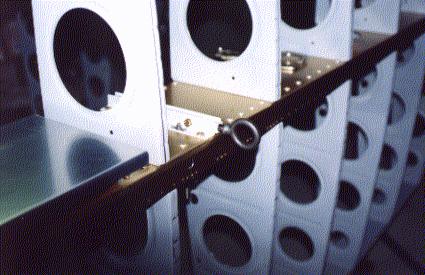 |
And here is the wing tie down bracket. It is part of the same
assembly as the aileron bracket above, but on the other side of the main
spar. |
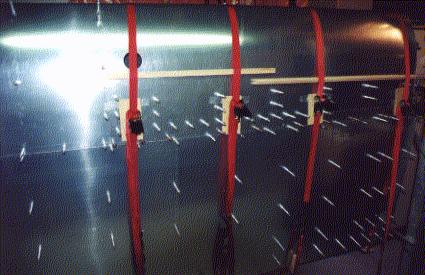 |
Here I have used cargo straps and pieces of oak scrap to hold the skins
down while I drill them to the ribs. |
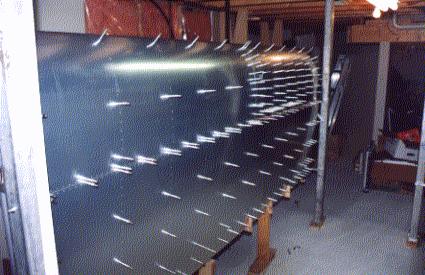 |
And this is what it looks like once the skins are all drilled on.
The fuel tank is on the far end. |
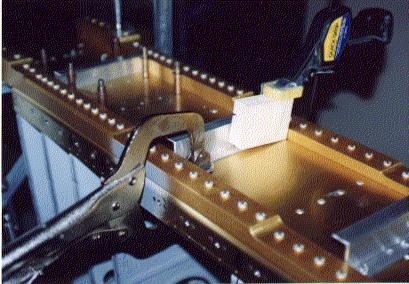 |
You have to drill the fuel tank attach "Z" brackets to the spar. |
 |
The fuel tank rear baffle sits on top of the "Z" brackets (note the
beer fridge in the background). |
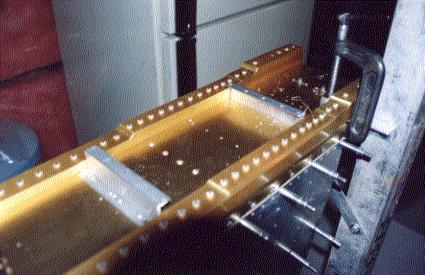 |
Another view of the "Z" brackets once they are drilled on. |
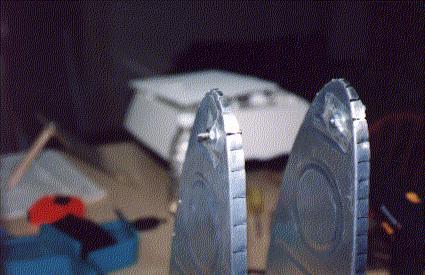 |
Putting those 6 foot pieces of threaded rod through all of the leading
edge and tank ribs can be a major pain in the a**. So, I used s short
piece of threaded rod to position a nut and washer on either side of a
rib, then used hockey shin pad tape to fasten the nut and washer firmly
to the rib. I then clecoed the ribs to the spar, and chucked the
long threaded rod in my drill.
Using a medium speed, I just spun the rod onto the ribs, took the tape
off, and tightened the nuts once the ribs were straight. Voila. Takes
less than a minute a rib to tape the nuts and washers on, then about a
minute or two to spin the rod in using the drill. |
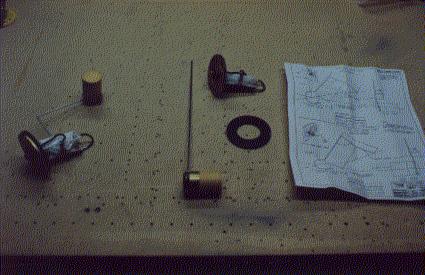 |
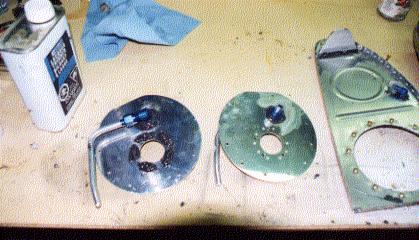
Pretty dark picture (I don't think the flash went off), but it shows
a pristine fuel level sender on the right, and a completed one on the left. |
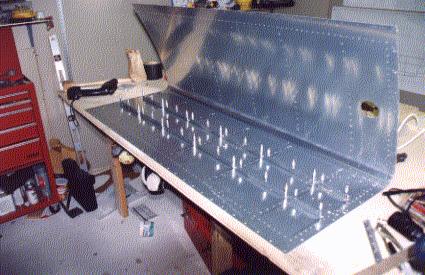 |
Here I have drilled and clecoed the fuel tank stiffeners to the right
fuel tank skin. |
 |
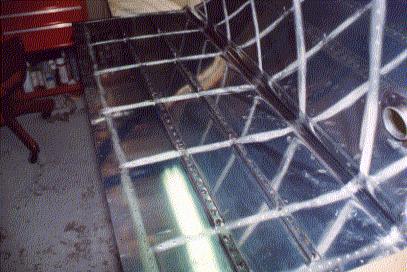
These are in the inboard ribs, once they have been, Pro-Sealed.
UGGHH! I found doing these things was the worst part of the whole process.
The rest of the sealing was dead easy. |
 |
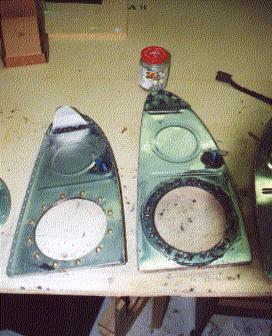
Here are the access panels for the end ribs. Again, dead easy. |
 |
This is the right tank skin with the stiffeners in place. Use
a small wire brsh to really scuff up where the ribs and stiffeners go.
This will provide a much better bonding surface for the Pro-Seal. |
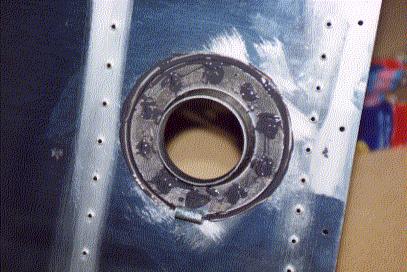 |
And this is the filler neck. Kind of a pain in the butt to back
rivet. Make sure to orient the neck the right way (there is a front).
I needed to bend mine just a little bit more to make it fit right. |
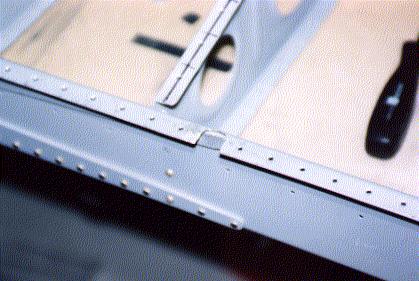 |
Now, my first major OOPS!! I was using a pneumatic squeezer to dimple
the trailing edge of the wing when it grabbed the rear spar doubler, and
in about a millisecond knarled the flange. I was heart sick. |
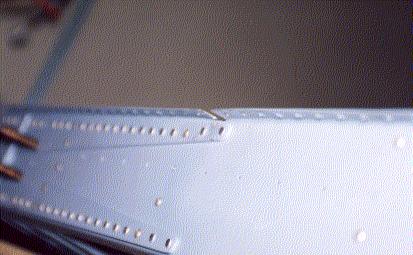 |
Here you can see where the squeezer grabbed the doubler. |
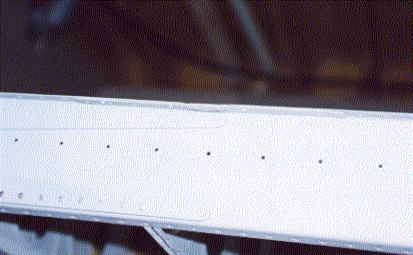 |
It is hard to make out in this picture, but this is the fix I had Andy
at Van's approve. I cut out the damaged part of the flange.
I made a 6" wide doubler piece to go under the flange with 5 skin rivets
and two keeper rivets on either side of the hole. |
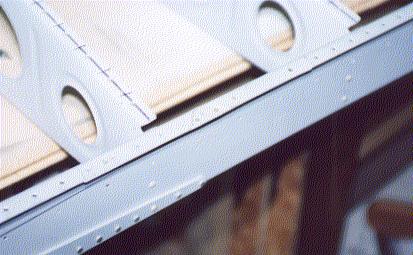 |
I then made a filler piece to go in the gap in the flange, and riveted
that in place. The trailing edge came out quite smooth. Man,
dodged that bullet! |
|
|


