 /td>
/td>

|
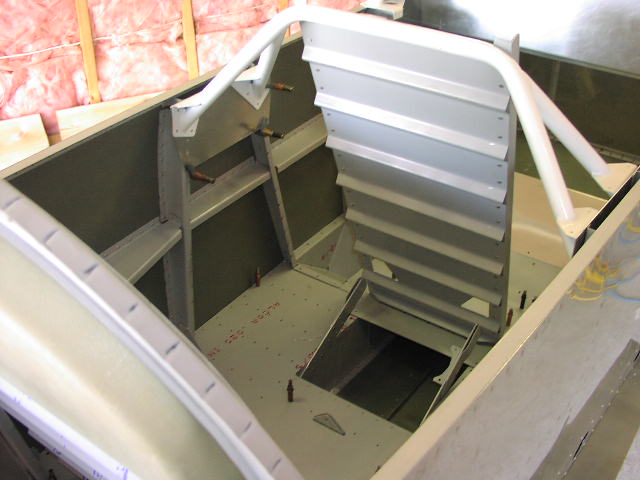
Here's a shot of the rear cockpit (Note the bigger pictures from here on. I'm too lazy to resize them. The smallest that comes out of the digital camera is 640x480) |
|
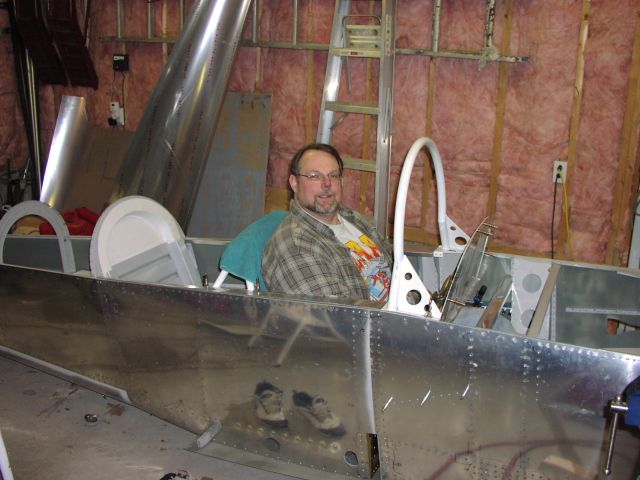
Dork Alert !! Here I am making airplane noises for the first time in the cockpit. |
|
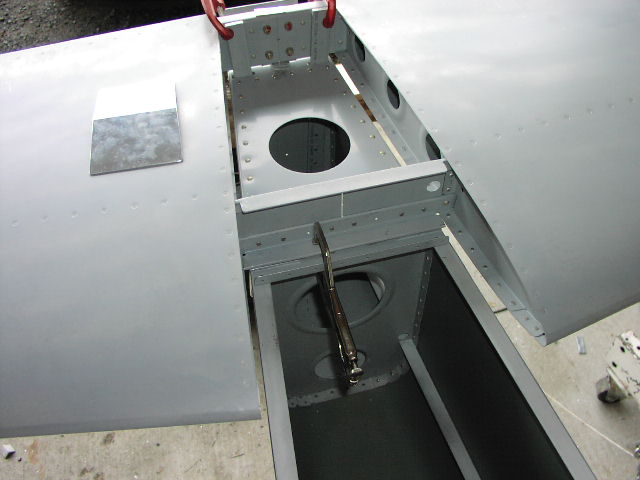
Here I'm starting the empennage mounting process. |
|
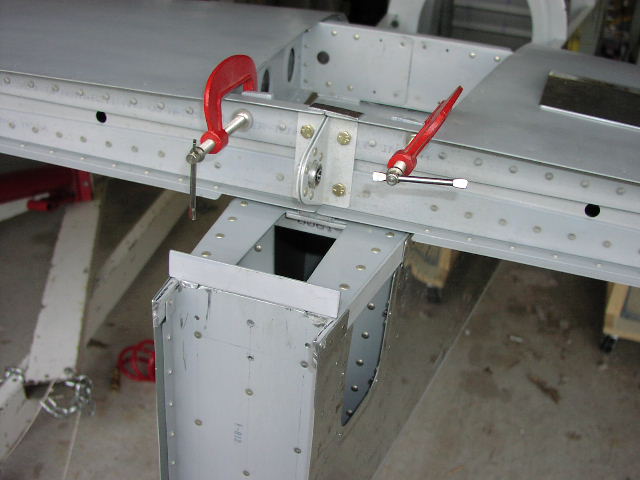
This is not a difficult process. It took me about 5 hours to do the whole empennage, and 4.5 of that was eye-balling and rechecking the level and measuring tape. |
|
You really should have a digital level. Although it can be done with acceptable results with a bubble level, the digital one let's you get within +/- .05 degrees. |
| /td>
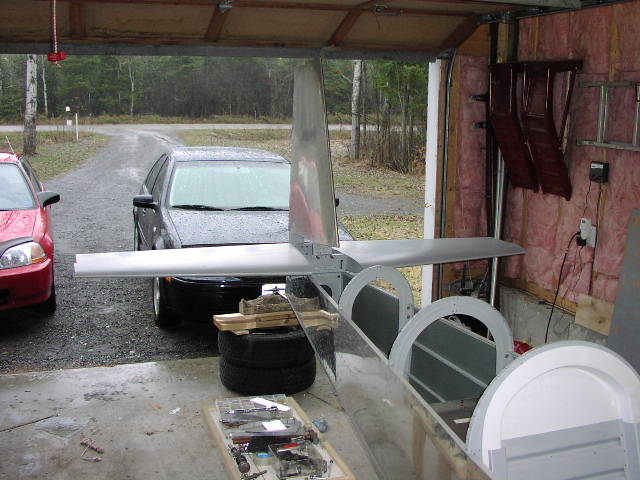
| Here it is all mounted |
|
Looking more and more like an airplane. |
|
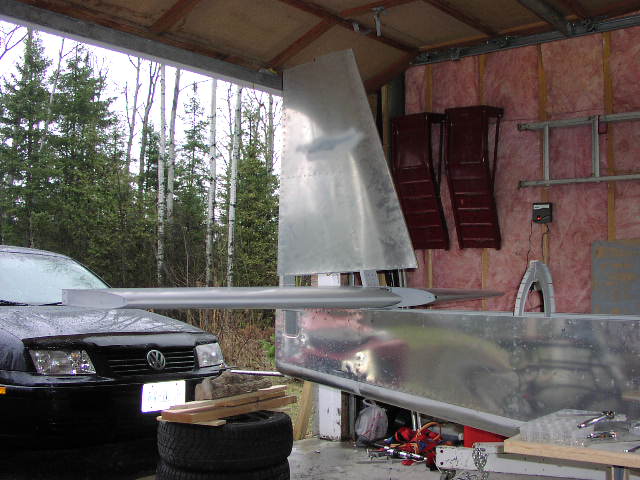
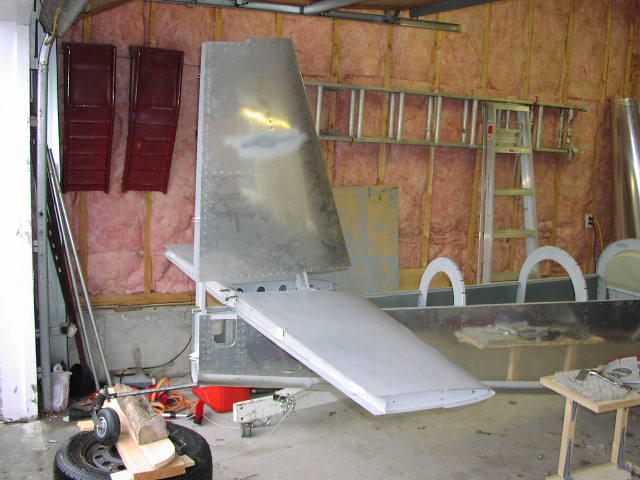
One last look until I attach it at final assembly. |
|
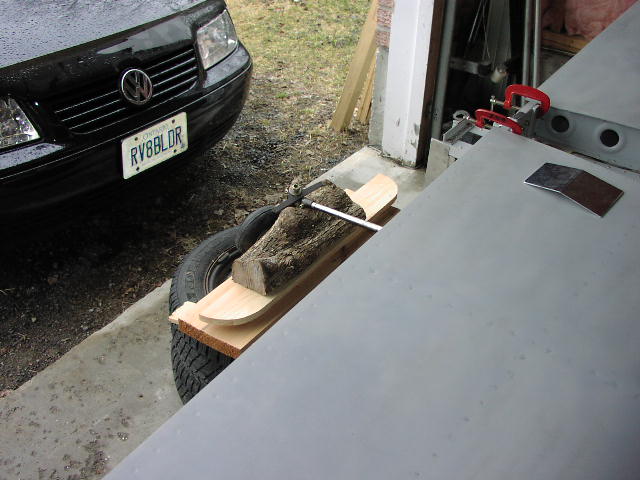
This is my elcheapo jack I used to level the fuselage. Two tires, some scrap wood, anda piece of firewood.. Note, however, that the firewood has a strategically placed notch to hold everything still. Almost like I planned it that way...NOT ! ;-) |
|
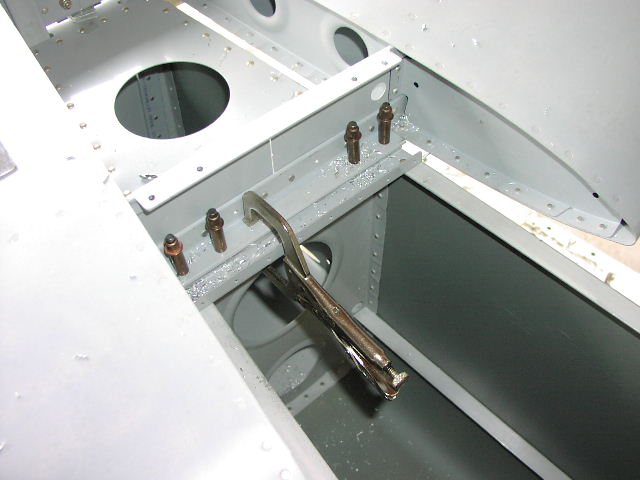
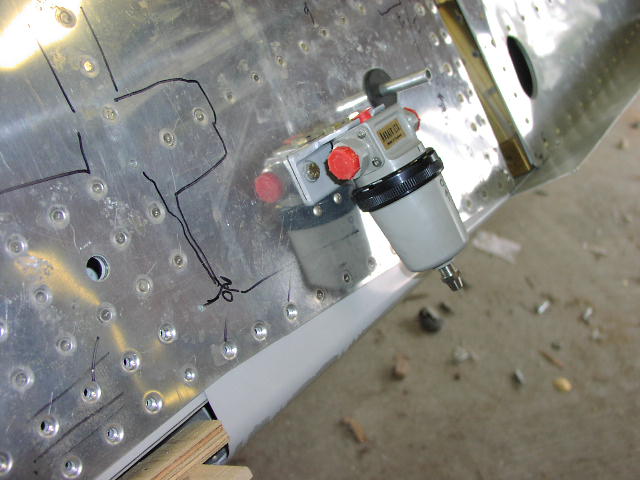
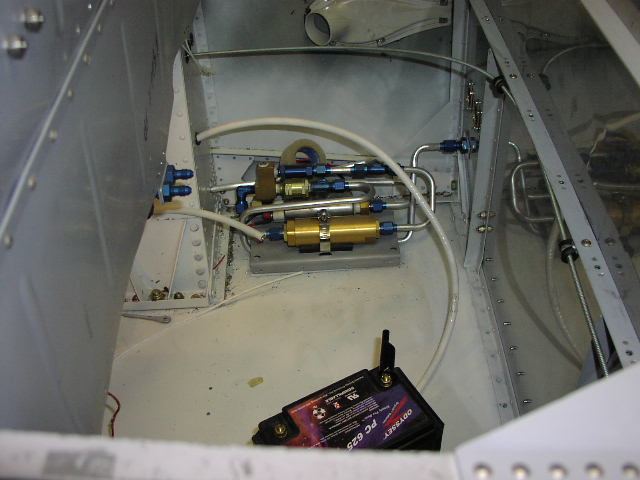
Here is the mounted gascolator. I'm using an IO-360, which has a high pressure fuel pump in place of the Facett pump that comes with the kit. The high pressure pump can't have anything downstream except the engine, so I need to mount the gascolator outside. |
|
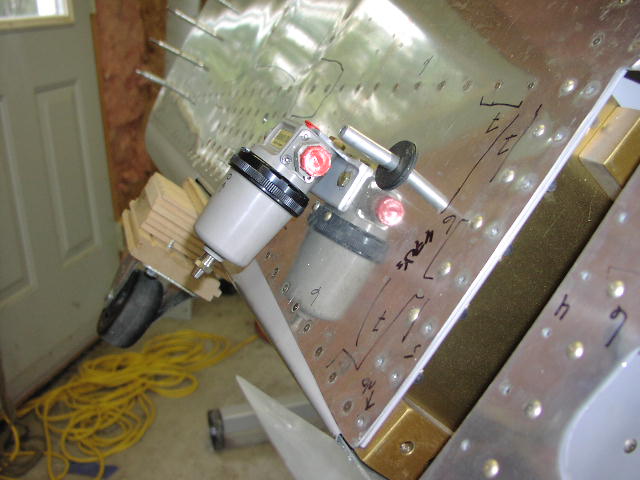
Another view of the gascolator. |
|
And here is the doubler plate I put inside to hold the gascolator. |
|
I bought the flap positioning system from Van's. You press a toggle and it goes to the first flap position, press again, to the second, and so on. |
|
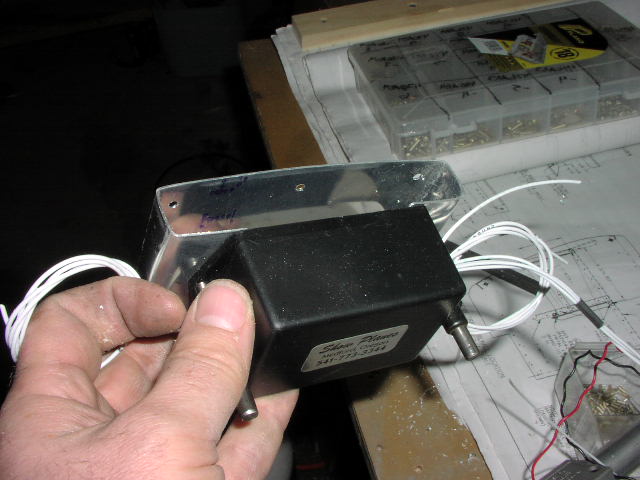
Here is the sender unit that handles the positioning smarts. |
|
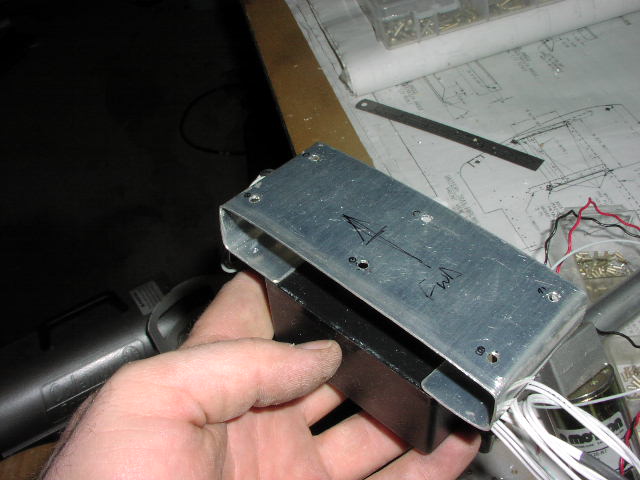
Another view. The weirdo aluminum thingy is an "under armrest" mount I made for it, as it needs to be colocated with the flap motor. |
|
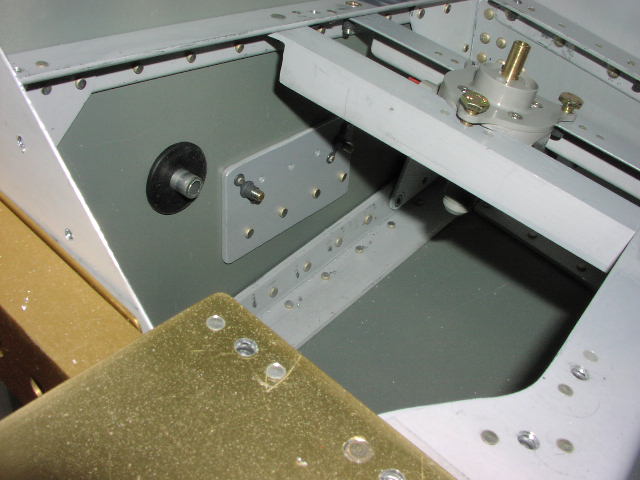
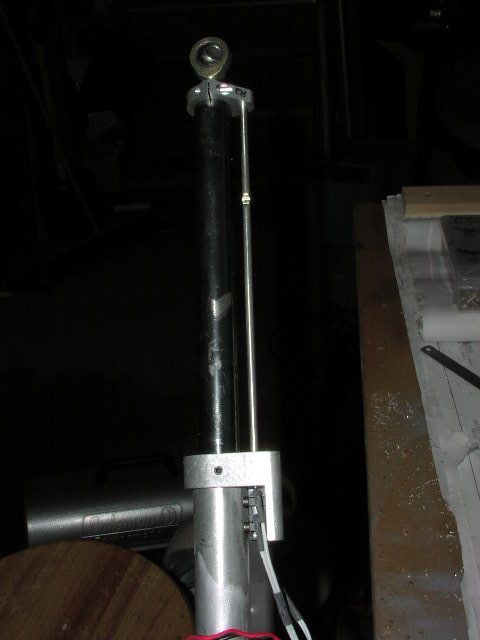
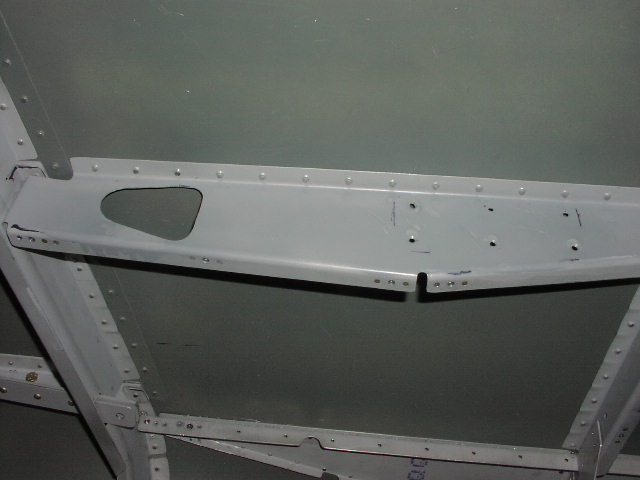
And here is where it is mounted. Note the larger flap motor arm hole. |
|
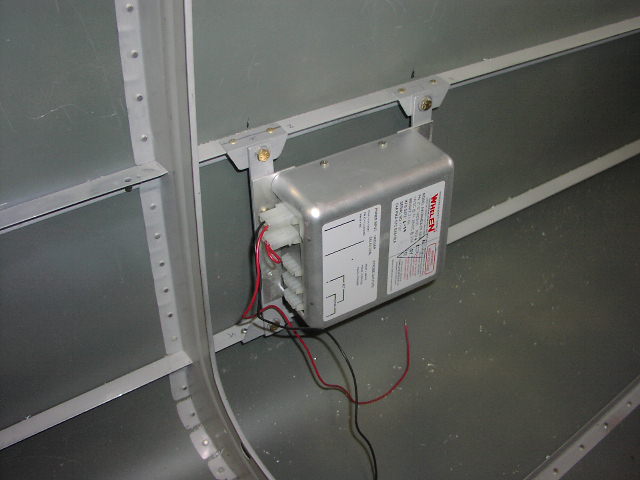
Here is a shot of my rear mounted strobe unit. I swiped the mounting idea off of Kevin Horton. |
|
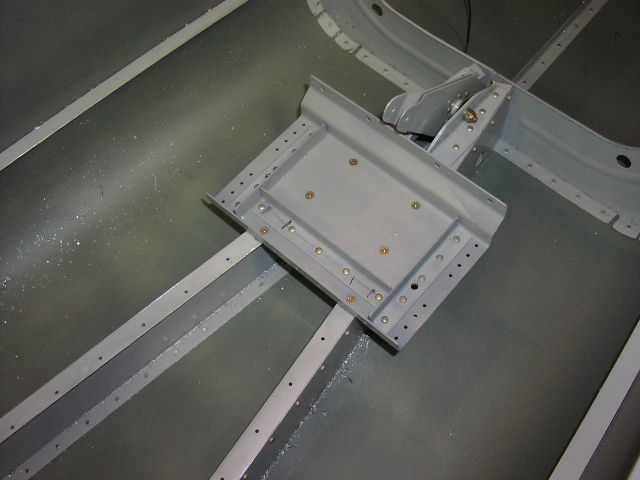
Here is my rear mounted battery mount. Note the mods I had to make to use an Odyssey battery. They are quite a bit smaller (and lighter) than regular batteries. |
|
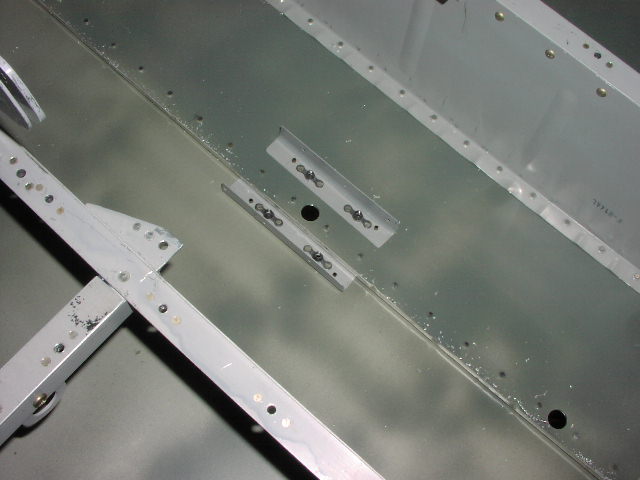
My comm and transponder mounting holes. |
|
My throttle quadrant. |
|
Expen$ive fuel pump. |
|
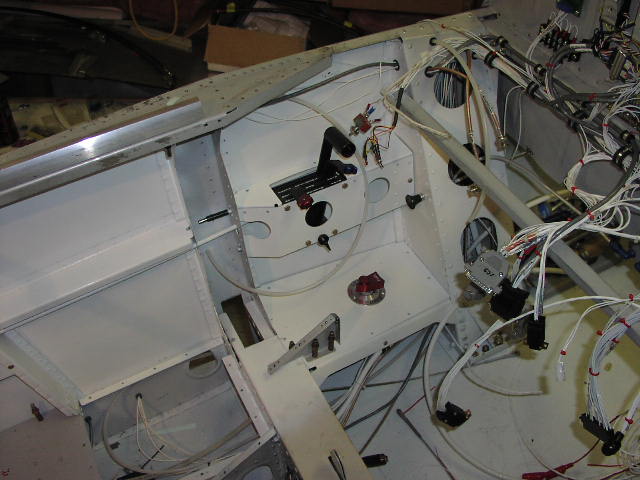
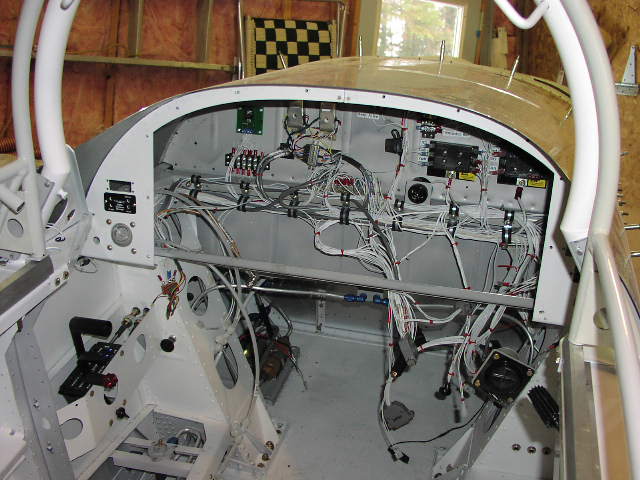
A shot of the cockpit interior after riveting on the top skin. The reason for the long wire bundles is that a) some bundles go from instrument to instrument behind the panel (like the transponder to the encoder), and b) I made the harnesses long enough that I can pull the panel out easily and disconnect/reconnect the harnesses for maintenance with the panel on my lap. |
|
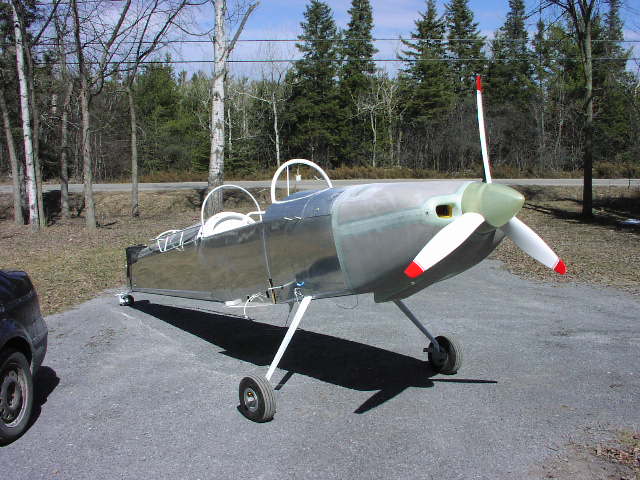
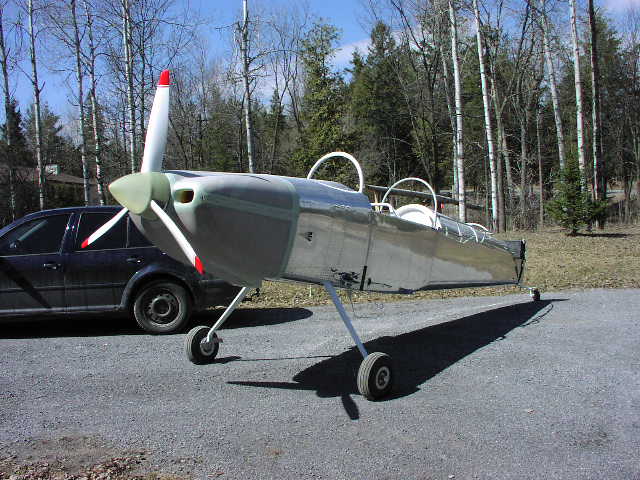
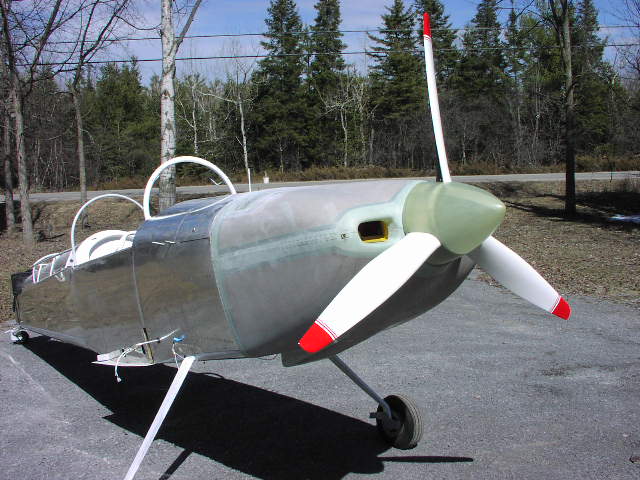
Here's a shot of my new Catto prop. Looks awesome. |
|
And another..... |
|
And another. |
|
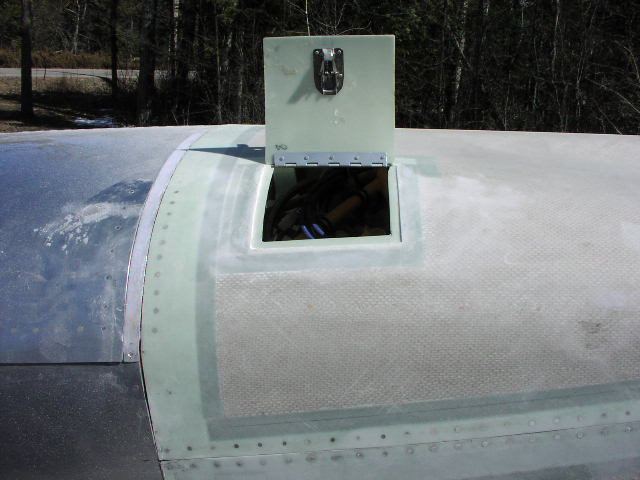
Here's a shot of my oil cooler door. I bought one of those fancy latches at Oshkosh last year. Looks good and works great. It was really easy to install. |
|
And here is the door opened. |
|
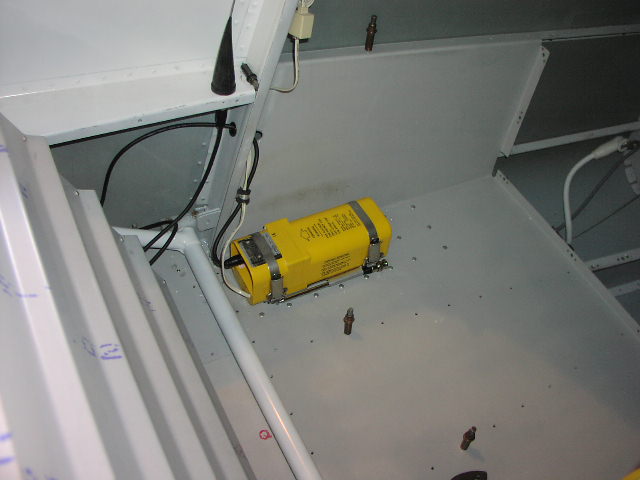
Here is how I installed the ELT. I put a .040 doubler under neath the baggage floor, then attached the ELT tray with nutplates. The antenna is in the armrest, and to get the cable to it I cut a deep "D" section in the baggage wall, lined it with that channel plastic stuff, and passed it through the bulkhead to the antenna itself. |
|
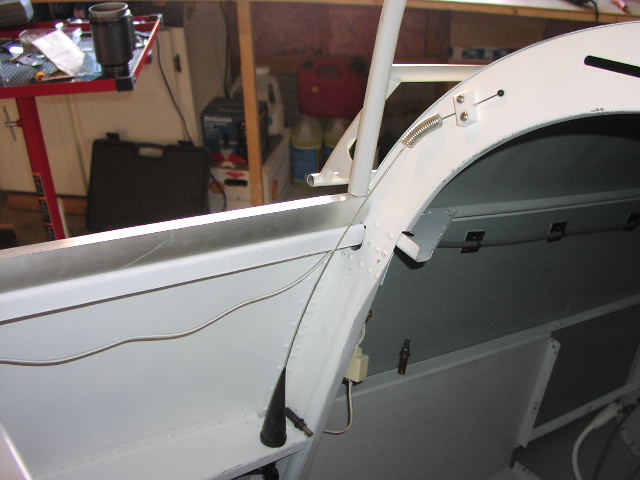
Here is the antenna. I have captured the top of it with some scrap UMHW stuff I had lying around. The antenna shaft is about 1/2" away from the canopy rail, although it doesn't look like it in the picture. |
That's it so far for the fuselage. Click here to go to the finishing kit, here to go back to the wing, here to go back to page 1 of the fuselage, or here to go back to the project home page.